 Importing Photos
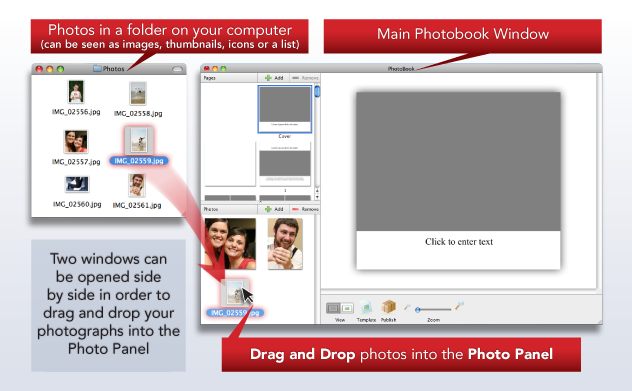
The best way to import photos into the software is to select them outside of the program and drag them onto the photo panel as shown.
The example shown here is from Apple Mac but it works equally as well in Windows computers. The pictures are in a folder and are viewed as thumbnails. 10, 20 or even 100 photos can be selected at once and dragged onto the photo panel however if there are a large number it could take a while to process them. Photos can also be imported and removed using the + or – buttons on the top right of each panel.
Sorting Photos
Compiling a book with lots of photos can be complex. To make it easier we recommend that you orgainse your photos into folders and then import them into our software one folder group at a time. If you organise them by date or name in the folder, and import them all as a group, then they will keep this order in our Photo Panel.
What’s Happening
When photos are imported into our software your original images are stored for use when your project is printed and lower resolution copies of your photos are made to be used for viewing on your screen. These lower resolution images are created because most computers are not powerful enough to view and quickly arrange large numbers of images in their original form.
At the completion of your project when you use the “Publish” function the high resolution images are sent to us for printing.